


If you've just picked up Sword X Staff, you've probably noticed something immediately: the game hands you one deceptively simple choice — Mage or Warrior — and then quietly locks you into a promotion path that shapes everything from your skill pool to your endgame identity. This isn't a tier list that just slaps an S-tier label on the flashiest skill and calls it a day. Instead, this guide breaks down what actually matters in the current meta: which classes deliver results at each investment level, which Techniques and Fantomons genuinely carry their weight, and how to build around the options you actually have rather than the ones you wish you had.
Class Tier List: Mage vs. Warrior Paths

Sword X Staff's class system splits into four permanent archetypes after the first promotion:
- Warrior → Duelist → Berserker → Conqueror (melee physical DPS)
- Warrior → Knight → Paladin → Guardian (defensive tank)
- Mage → Sorcerer → Archmage → Destroyer (ranged AoE magic)
- Mage → Sage → Arcanist → Dominator (support/burst hybrid)
Most players refer to these by their Tier 2 names — Duelist, Knight, Sorcerer, and Sage — since those labels describe the playstyle that persists across every promotion.
S-Tier Classes
Duelist remains the gold standard for free-to-play players and the most popular class across servers, often making up more than half the player base depending on the current meta. Its kit revolves around Crit Rate, multi-hit combos, and built-in lifesteal, which means it keeps itself alive while pushing damage. Duelist consistently tops progression leaderboards and handles story stages comfortably even when your Combat Power is well below the recommended level. The class also performs excellently in PvP, where only Knights reliably counter it.

Sorcerer is the strongest Tier 2 class on the Mage path and the reason many players commit to Mage early. It leans entirely into ranged AoE damage, clearing whole packs of enemies in a single spell and wiping dungeons far faster than any other class at this stage. The trade-off is fragility — Sorcerers have low defense and depend on positioning to stay alive, and single-target boss fights can feel slow until your gear catches up.

At Tier 3, Arcanist (Sage's third promotion) gains access to situations where it becomes immune to damage and death outright, a survivability jump no other class matches. Its DPS skills also become genuinely competitive at this stage, so it stops feeling like a pure support and starts carrying its own weight.Dominator (the Sage line's Tier 4 form) is arguably the most complete class in the game — it handles virtually every content type without needing a specific team around it.
Destroyer (Sorcerer's endgame form) pushes AoE damage to its peak, letting you delete groups of enemies with minimal effort. The one thing worth planning for is defense — the class remains squishy, so putting some points into defensive skills rather than going all-in on damage makes late-game content far smoother.
A-Tier Classes
Knight offers consistent tank survivability that carries solo PvE reliably. It's not as explosive as Duelist, but it's far more forgiving to play without premium investment. Knights dominate the early-to-mid game, particularly in the second promotion tier, though they become progressively less impactful as DPS classes pull further ahead with premium gear.

Sage scales extremely hard with investment. Its Erosion stacks and high-end prayers turn what looks like a support kit into burst windows that can outpace any Duelist combo at high investment levels. For free-to-play players, however, Sage is genuinely weak solo without that investment.

B-Tier Classes
Mage and Warrior are the starter classes. They're not bad — they're just temporary. Both feel underwhelming in the early game, but their promotion lines end up extremely powerful. Since you can swap classes for free at the start, there's no downside to trying one before committing.
Techniques and Charms Tier List
Techniques are your active skills — the direct attacks, heals, and movement options you'll use in combat. Charms are passive effects that can significantly change how your build functions. The golden rule: don't equip a skill just because it has higher rarity. A skill becomes much stronger when it matches your class, stats, element, and other skills.
Tier Techniques

Lion Combo is the highest single-target damage skill in the game. It strikes the enemy in front of the caster up to three times with physical hits that scale with each successive strike, and it comes with a stacking damage multiplier. This is your go-to for boss fights and elite enemies.
Water Assault deals AoE damage to all enemies in front of the caster and stacks additional damage multipliers each time the same target is hit consecutively. Its damage amplifier also increases against multiple simultaneous targets, giving it outstanding value in both AoE and single-target fights.
Blazing Fire Ring hits all nearby enemies with massive fire damage, making it the strongest Mage option when surrounded by multiple opponents. Its upgrade scaling amplifies damage significantly over time.
Wind's Delight summons wind blades that continuously deal damage across a 6-grid radius — the widest area coverage of any skill in the game. Its ability to sustain DPS over long periods makes it one of the most efficient skills to use.
For Warriors, Whirlwind Slash deals heavy physical damage to all enemies within a 1-grid radius, capping at four simultaneous hits. Heavy Impact deals high physical damage and launches enemies airborne, opening combo windows for follow-up skills. Leap Attack combines mobility, AoE damage, and an Armor Break debuff in a single skill — the only option that stacks all three categories simultaneously.
A-Tier Techniques
Cyclone hits a distant enemy and all targets in a small radius with heavy AoE wind damage, pulling enemies airborne for combo opportunities. It requires precise timing and positioning to use effectively.
Fireball deals heavy AoE fire damage and provides a repositioning mechanic, though the repositioning is random and can sometimes place you in the middle of enemy groups.
Tempest Sphere deals continuous wind damage to enemies in front of the caster, providing reliable sustained pressure, though its damage falls off noticeably in higher-difficulty stages.
Quadrant Slash deals heavy physical damage to nearby enemies and is especially effective when its multi-hit mechanic triggers against tightly grouped opponents.
Gravity Pull gathers enemies from a wide targeting range into a single point, setting up AoE follow-ups far more effectively than positional attacks alone.
S-Tier Charms

Gale Shield stands out as the top-tier Charm option, providing defensive utility that scales well across all content types. Mana Surge and Unstable Aura are Tier 0.5 Charms that boost sustained DPS and elemental triggers, particularly valuable for Sorcerer and Archmage builds.
For melee builds, Block Awareness,Counter Blade,Blade of Lament, and Strength Rules form a cohesive Charm package that balances damage with survivability. Iron Fortress is one of the best Charms for front-liners, providing substantial defensive value.
Fantomon (Pet) Tier List
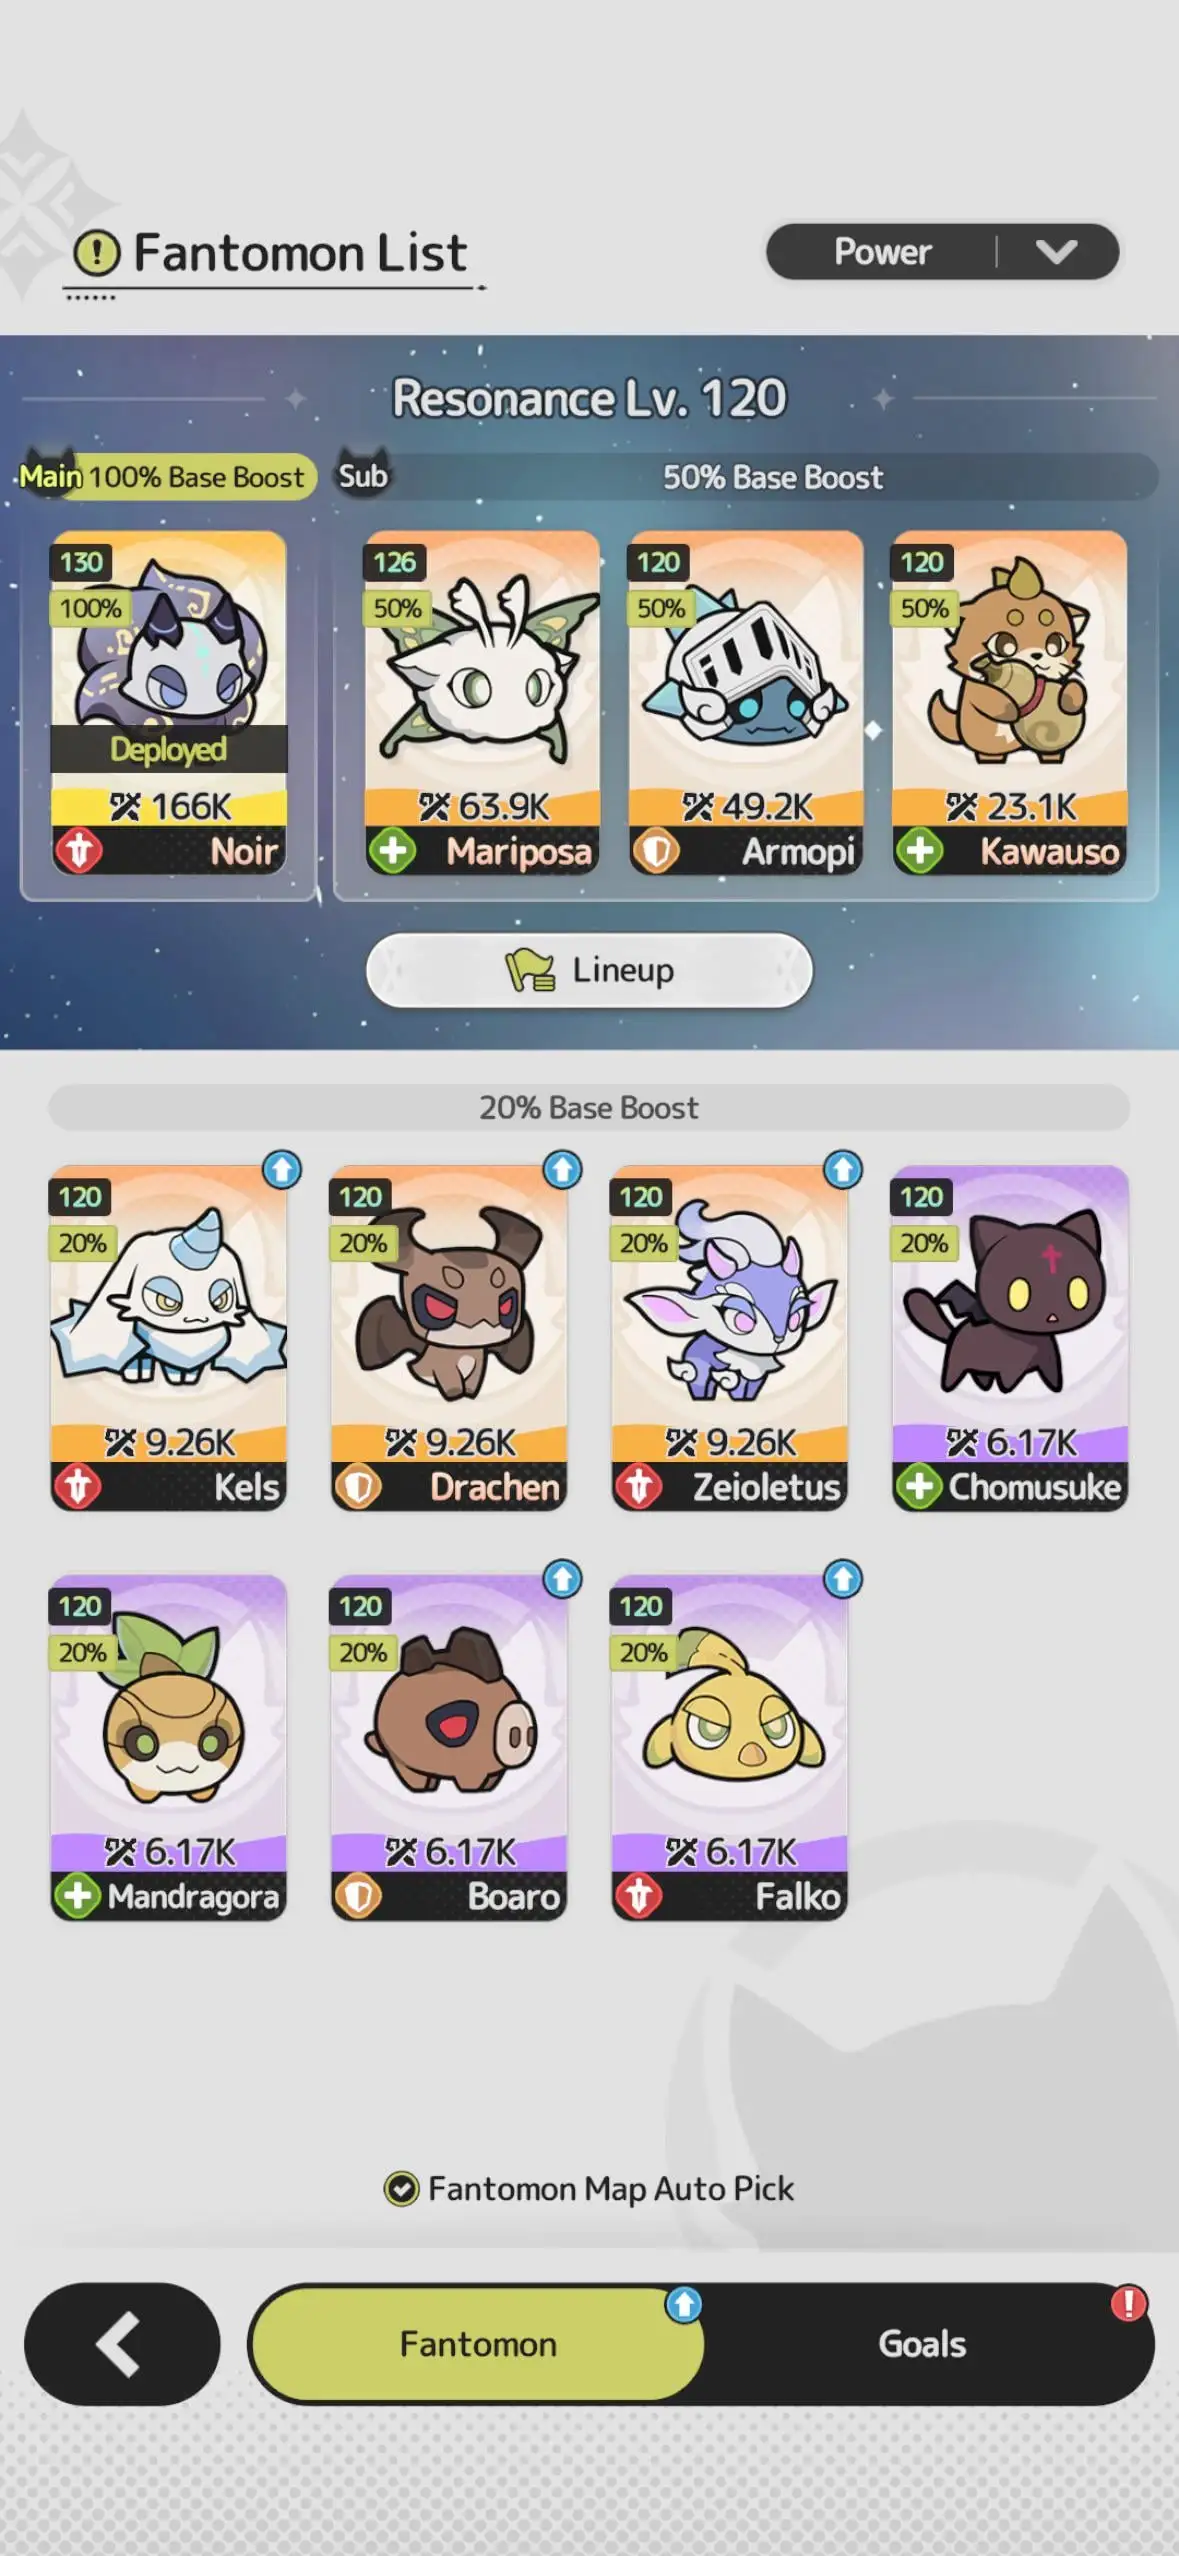
Fantomons contribute through direct damage, defensive buffs, enemy debuffs, and how reliably those bonuses activate during combat.
S-Tier Fantomons
Pandarial reduces all Technique cooldowns at the start of battle, providing immediate access to high-damage skills from the opening moment of every encounter. It also grants a permanent battle damage boost and applies a guaranteed Fragility debuff alongside AoE damage.
Nyxarchon deals passive AoE damage every time a damaging Technique is used, contributing significant extra hits without any setup requirement. Its stacking DEF Reduction builds up to 30%, amplifying both personal and ally damage simultaneously.
Aegiswing prevents fatal damage through its Guardian Angel effect, allowing you to survive hits that would otherwise end a fight. This is one of the strongest individual survival mechanics available.
Zeioletus deals heavy AoE damage with Aura Shot and consistently knocks enemies airborne with its Lotus Step passive, creating reliable combo opportunities across all encounters. This combination of damage and CC support makes it the best all-around pet for progression.
Armopi increases the owner's defensive stats through Armor Protection and grants passive shields that absorb incoming damage when fighting enemies above your combat power. These shields last for a long duration, making Armopi the top defensive pet for late-game encounters.
Chomusuke grants an additional attack each time a damaging Technique is used, turning every offensive action into an extra hit that also deals area damage across multiple targets. These bonus attacks can apply DEF Reduction on top of their base damage.
A-Tier Fantomons
Kels dispels enemy buffs after every damage-dealing ability and reduces enemy defense, enabling faster stage clears by stripping enemy combat advantages.
Sylvaerie buffs the owner's attack damage and uses Slow Wind Shot to delay enemy actions significantly. It performs best in boss fights and burst builds.
Terragon weakens all enemies at the start of every turn and reduces their damage output throughout fights, functioning best as a debuff-focused support pet.
Falko consistently deals extra AoE damage whenever offensive Techniques are used. Its active skill executes three hits in an area, making it effective against grouped enemies and bosses.
Mandragora heals allies whenever support-targeting Techniques are used, improving team sustain in dungeons and boss fights. Its effectiveness depends entirely on the team running ally-targeting Techniques.
Relic Tier List
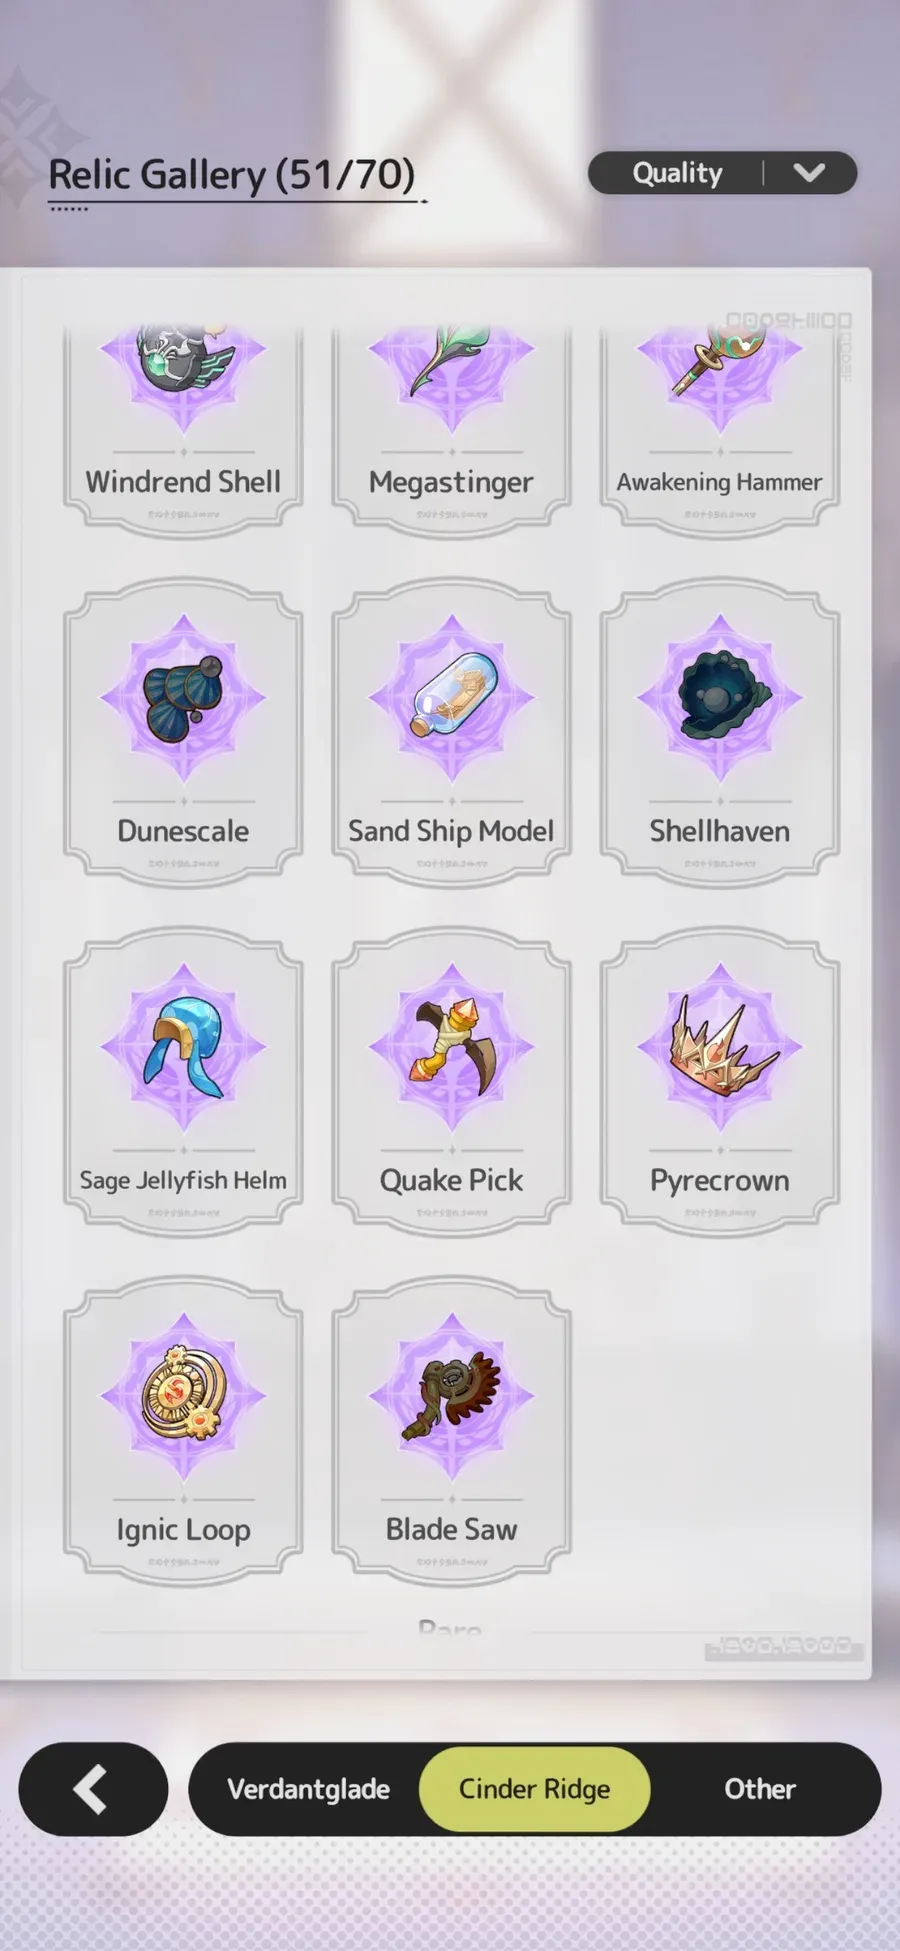
Relics provide direct stat bonuses and scaling mechanics. Offensive relics should always be your top priority.
S-Tier Relics
Everburn Throne provides a direct +58 ATK boost that increases overall DPS immediately upon equipping with no additional investment or conditions required. Its strong synergy with high-DPS loadouts and reliable flat ATK scaling across both early and late-game makes it the most impactful offensive relic available.
Pinnacle Radiance provides a massive Crit Damage increase of +7.5%, dramatically amplifying burst damage output in boss fights. It scales exceptionally well into late-game content where boss HP pools need maximum burst DPS.
Prime Dynamo provides the highest potential ATK increase of any relic once fully stacked through regular equipment dismantling, reaching +60 ATK at maximum effect. Its strong synergy with crit-based loadouts makes it the best offensive relic for active farmers.
A-Tier Relics
Doomsday Chronometer provides a massive Speed boost of +8 per WP Enhancement (max +48), improving attack frequency and skill usage rate significantly for fast-paced, rotation-heavy builds. It requires heavy weapon enhancement investment to reach maximum value.
Scales of Order delivers a very large HP increase of +106 per Skill Level (max +318), greatly improving survivability for tank and sustain-focused builds. It relies entirely on skill quality upgrades to reach full potential.
Ignis Oculus provides a strong percentage-based defensive stat increase of +12.5% DEF, supporting frontline Knight and tank-oriented builds effectively. It provides no offensive stats whatsoever.
Sandfall Sarcophagus provides strong defensive scaling at +10 DEF per helmet enhancement (max +60), well-suited for Tank setups.
Best Builds by Class
Best F2P Build: Duelist Burst
Class: Warrior → DuelistBest for:Boss fights, single-target DPS, story progression
|
Slot |
Pick |
Tier |
Why |
|
Technique 1 |
Lion Combo |
S |
Highest single-target damage in the game with stacking multiplier |
|
Technique 2 |
Heavy Impact |
S |
Launches target airborne to open combo window for Lion Combo |
|
Technique 3 |
Leap Attack |
S |
Mobility + Armor Break debuff for damage amplification |
|
Charm |
Block Awareness |
A |
Defensive stability without sacrificing offense |
|
Charm |
Counter Blade |
A |
Adds counterattack damage when enemies strike |
|
Fantomon |
Zeioletus |
S |
AoE damage + reliable airborne CC extends the combo chain |
|
Relic |
Everburn Throne |
S |
Unconditional +58 ATK, immediate DPS increase |
This build combines the highest single-target DPS in the game with a crit amplifier and does not require rare drops or premium gear to function at a high level.
Best Mage DPS Build (Fire Core)
Class: Mage → Sorcerer Best for: Burst AoE damage, early-to-mid game fire build progression
|
Slot |
Pick |
Tier |
Why |
|
Technique 1 |
Blazing Fire Ring |
S |
Strongest Mage AoE when surrounded, scales heavily with upgrades |
|
Technique 2 |
Water Assault |
S |
Stacks damage multipliers on consecutive hits |
|
Technique 3 |
Fireball |
A |
AoE fire damage with repositioning |
|
Charm |
Mana Surge |
T0.5 |
Sustained DPS and elemental trigger support |
|
Fantomon |
Kels |
A |
Dispels enemy buffs and reduces defense |
|
Relic |
Pinnacle Radiance |
S |
+7.5% Crit DMG amplifies burst output |
Best Warrior Tank Build
Class: Warrior → Knight Best for: Dungeons, survivability, consistent DPS in sustained encounters
|
Slot |
Pick |
Tier |
Why |
|
Technique 1 |
Whirlwind Slash |
S |
Reliable sustained AoE that scales with upgrades |
|
Technique 2 |
Quadrant Slash |
A |
Multi-hit AoE for tightly grouped enemies |
|
Technique 3 |
Guardian Ring |
A |
Shield for additional survivability |
|
Charm |
Iron Fortress |
S |
Top-tier defensive Charm for front-liners |
|
Fantomon |
Armopi |
S |
Defensive stats + passive damage-absorbing shields |
|
Relic |
Scales of Order |
A |
Up to +318 HP scaling with skill level |
Final Thoughts
Sword X Staff rewards deliberate investment over impulsive pulls. Duelist remains the most reliable F2P powerhouse, Sorcerer dominates early AoE content, and Sage becomes a monster at high investment. But the real lesson from the current meta is that build cohesion matters more than individual skill rarity. A cohesive B-tier loadout that matches your class's strengths will outperform a scattered collection of S-tier skills that don't synergize.
Lock in Blazing Fire Ring and Wind's Delight as your first priority skills if you're on the Mage path, aim for Zeioletus as your opening Fantomon, and slot Everburn Throne the moment you get it. On the Warrior side, Lion Combo and Heavy Impact form the core of any serious burst build. And remember — the meta shifts every season, so build with flexibility in mind rather than chasing the current top-tier class into a dead end.