

Elyms is an S-Rank Cosmos Support/Sub-DPS in Neverness to Everness (NTE). She provides teamwide ATK and Follow-Up Attack DMG buffs, Instant Cycle, and off-field damage through Remembrance.
Her standard build prioritizes Echoes on Hold, Lost Radiance, CRIT stats, and four Type III Modules. This guide covers her best equipment, Awakening priorities, skill rotation, and recommended teams.
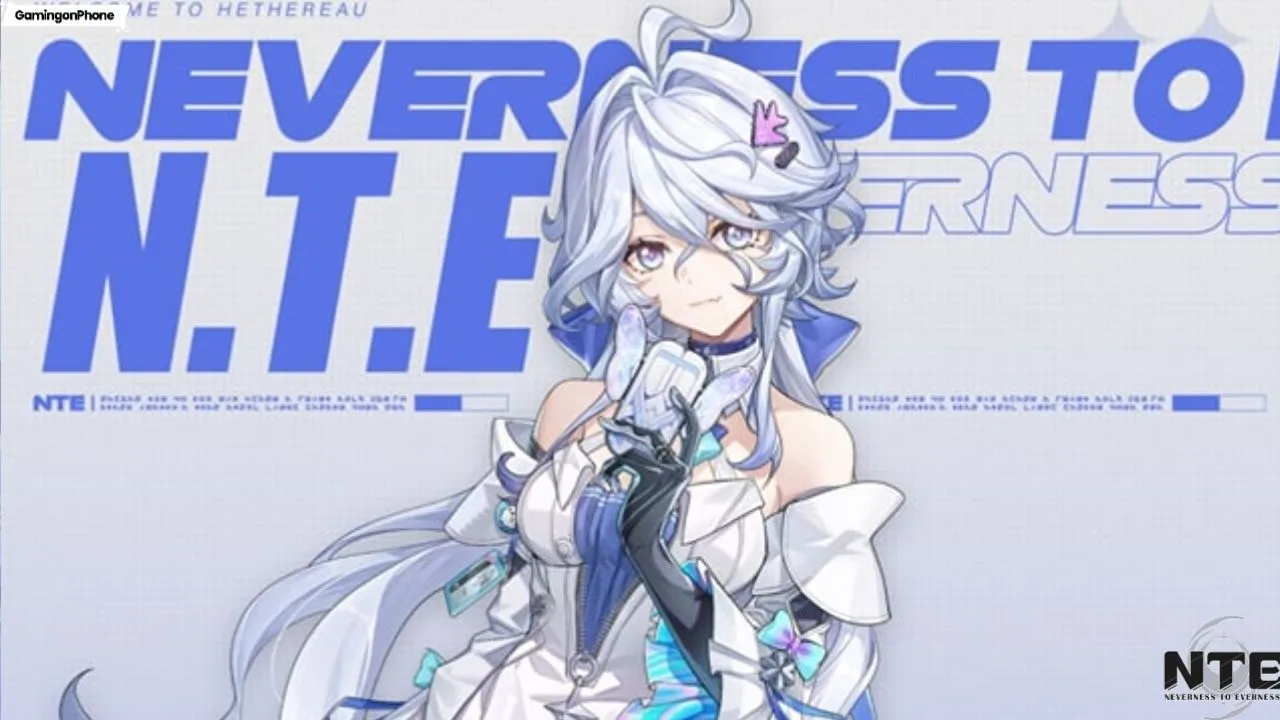
Elyms Character Overview
|
Attribute |
Details |
|
Rank |
S-Rank |
|
Element |
Cosmos |
|
Role |
Support / Sub-DPS |
|
Affiliation |
ETD Squad 6 |
|
Best Arc |
Echoes on Hold |
|
Best Cartridge |
Lost Radiance |
|
Main Mechanic |
Connection Strength |
Key strengths:
Provides teamwide ATK and Follow-Up Attack DMG buffs.
Deals off-field damage through Remembrance.
Uses The Ones Who Left to trigger Instant Cycle.
Works well in Shinku Charge and Akane Rin Remora teams.
Elyms's Core Mechanics
Elyms's damage and support rotation revolves around Connection Strength, Optical Illusion, and her Ultimate.
Connection Strength
Connection Strength has three stages:
|
Stage |
How to Reach It |
|
Weak |
Starting state or after using her Ultimate |
|
Medium |
Use I'm Here or Intermittent Existence |
|
Strong |
Use Goodbye to You at Medium Connection |
Elyms starts at Weak Connection. Her Support Skill, I'm Here, can immediately advance her to Medium Connection and grant Optical Illusion. If it is unavailable, use her Basic Attack combo followed by Intermittent Existence.
At Medium Connection, complete the three-hit Crosstalk combo to unlock Goodbye to You. This enhanced Redirect Skill consumes Optical Illusion and advances Elyms to Strong Connection.
Use her Ultimate only after reaching Strong Connection to maximize its damage and subsequent Follow-Up attacks.
Ultimate: Do You Get Deja Vu
Do You Get Deja Vu is Elyms's main burst skill. Its attack form depends on the target scan:
At Weak Connection, it defaults to AoE.
At Medium or Strong Connection, it scans targets and selects the appropriate single-target or AoE form.
The Ultimate resets Connection Strength to Weak and provides:
Teamwide ATK equal to 20% of Elyms's Base ATK.
Increased teamwide Follow-Up Attack DMG.
Access to Remembrance's coordinated Follow-Up attacks.
The target scan from her Support Skill or enhanced Redirect Skill affects the Ultimate's targeting. Position Elyms near the intended target or enemy group before scanning.
Remembrance and On-the-Line
After Elyms uses her Ultimate, On-the-Line activates Remembrance, allowing coordinated Follow-Up attacks to continue from off-field.
These attacks benefit from the Connection Strength used when the Ultimate was activated. Reaching Strong Connection before casting the Ultimate therefore improves both her burst and subsequent off-field damage.
Instant Cycle
After her Ultimate, use The Ones Who Left when available. This Redirect Skill immediately fills the Esper Meter, allowing the next character to enter the team's Esper Cycle more quickly.
Best Arcs for Elyms
Echoes on Hold is Elyms's best overall Arc. It provides ATK, teamwide DEF Ignore, and Cosmos Resistance Penetration. Blow Up the Crowd is a support alternative, while The Rain That Shook the World focuses more on Elyms's personal damage.
1. Echoes on Hold – Best Overall
Elyms's signature Arc provides:
ATK +15%.
After the wearer casts an Ultimate and deals Follow-Up Attack DMG three times, the team gains 12% DEF Ignore.
The wearer gains an additional 10% DEF Ignore.
DEF Ignore effects last 20 seconds.
Using a Redirect Skill grants the team 8% Cosmos RES Penetration for 20 seconds.
Its effects fit Elyms's normal rotation: use a Redirect Skill before her Ultimate, then let Remembrance trigger Follow-Up attacks.
2. Blow Up the Crowd – Support Alternative
When Elyms is off-field, this Arc increases the active character's ATK by 10%. When Elyms deals damage, it can grant another 2% ATK per stack, up to four stacks, triggering at most once every two seconds.
Its off-field ATK buffs complement Remembrance, making it a useful option for teams that need more direct ATK support.
3. The Rain That Shook the World – Personal Damage Alternative
This Arc provides:
30% Cosmos DMG for Redirect Skills and Ultimate.
36 Cycle Intensity for 15 seconds after using a Redirect Skill.
It strengthens Elyms's own Redirect Skill and Ultimate damage but offers less team utility than Echoes on Hold.
Arc Comparison
|
Arc |
Best For |
Main Advantage |
|
Echoes on Hold |
General build |
Team DEF Ignore and Cosmos RES Penetration |
|
Blow Up the Crowd
|
Support |
Off-field ATK buffs |
|
The Rain That Shook the World
|
Personal damage |
Redirect Skill and Ultimate DMG |

Best Cartridges for Elyms
Lost Radiance is the recommended set for Elyms's standard build. Speedy Hedgehog is an alternative for teams that need more ATK support.
1. Lost Radiance – Best Overall
2-Piece: Cosmos DMG +10%.
4-Piece: After using an Ultimate, ignore 25% of enemies' DEF for 20 seconds.
The Cosmos DMG bonus strengthens Elyms's attacks, while the four-piece effect improves her damage after her Ultimate. It also benefits the period when Remembrance continues attacking from off-field.
2. Speedy Hedgehog – Support Alternative
2-Piece: Charge Efficiency +12%.
4-Piece: After using an Ultimate, increase all allies' ATK by 15% for 20 seconds.
This set provides a teamwide ATK buff, but its four-piece effect does not stack. If Iroi or another teammate already equips Speedy Hedgehog, Lost Radiance is generally the better choice for Elyms.
Main Stats and Substats
The recommended stats depend on the team archetype:
|
Stat Type |
Charge / Damage-Focused Team |
Genesis-Focused Team |
|
Cartridge Main Stat |
CRIT DMG > Cosmos DMG% |
Genesis Strength |
|
Substat Priority |
CRIT Rate = CRIT DMG > Universal DMG% > ATK% > ATK |
CRIT Rate = CRIT DMG > Universal DMG% > ATK% > Genesis Strength |
For standard Shinku Charge and Akane Rin teams, prioritize CRIT and direct damage bonuses. Genesis-focused teams can place more value on Genesis Strength.
Best Console Setup and Stats
Each equipped Type III Module increases Elyms's CRIT Rate by 8%. Four Type III Modules therefore provide 32% CRIT Rate.
Prioritize the modules required to activate Lost Radiance's four-piece effect, then use the remaining Console slots for Type III Modules.
Recommended Console Setup
|
Module |
Effect |
|
Required Lost Radiance Modules |
Activates the four-piece set |
|
4 × Type III Modules |
CRIT Rate +32% |
Stat Priority
For a standard Echoes on Hold build, prioritize CRIT DMG as the main stat. Cosmos DMG% is also a strong option when it has better substats.
Recommended substat priority:
CRIT Rate
CRIT DMG
Universal DMG%
ATK%
ATK
Cycle Intensity is usually less important in standard Charge teams, but can be more valuable in builds focused on Blossom or Esper Cycle.
Recommended CRIT Targets
These are reference targets, not mandatory breakpoints.
|
Arc Setup |
CRIT Rate |
CRIT DMG |
|
Echoes on Hold / Xun's Signature Arc |
89–96% |
166–180% |
|
Non-CRIT Arc |
65–72% |
166–180% |
|
The Rain That Shook the World |
87–94% |
166–180% |
Adjust CRIT Rate according to your Arc and Module bonuses to avoid over-investing in it.
Elyms Awakening Priority
The following recommendations use Game8's Awakening node numbers and names. They should not be treated as equivalent to the numbered Awakening levels in other guides.
|
Priority |
Awakening Node |
Main Effect |
|
1 |
302: Wish Redirected |
Teamwide CRIT DMG +20% while Elyms is alive and in the party |
|
2 |
404: Island Out of Reach |
Ultimate grants teamwide CRIT DMG based on consumed Optical Illusion stacks |
|
3 |
301: Moved Permanently |
Increases Elyms's Follow-Up Attack DMG based on consumed Optical Illusion stacks |
|
4 |
504: Gateway Timeout |
Raises the Optical Illusion stack limit and grants additional stacks when reaching Strong Connection |
|
5 |
200: Nodes Connected |
Increases Ultimate DMG and adds DEF Ignore to Goodbye to You |
|
6 |
304: Nothing Has Changed |
Increases base Redirect Skill DMG and provides Cycle Energy at combat start |
Best Awakening for Support Elyms
302: Wish Redirected is the first priority for support builds, providing a consistent 20% teamwide CRIT DMG bonus while Elyms is alive and in the party.
404: Island Out of Reach grants 10% teamwide CRIT DMG for 20 seconds per Optical Illusion stack consumed before the Ultimate, up to 40% with four stacks.
301: Moved Permanently increases Elyms's Follow-Up Attack DMG by 25% per consumed stack for 20 seconds, up to 100%.
504: Gateway Timeout raises the Optical Illusion stack limit to four and grants three additional stacks when Connection Strength advances from Medium to Strong. It improves the value of stack-dependent nodes such as 404 and 301.
For a support-focused build, prioritize 302 → 404 → 504. Consider 301 when investing further in Elyms's personal damage.
Best Elyms Teams
Elyms is particularly effective in Shinku Charge and Akane Rin Remora teams. Both compositions make use of her buffs, Instant Cycle, and off-field Follow-Up attacks.
1. Shinku Charge Team
|
Role |
Character |
|
Main DPS |
Shinku |
|
Sub-DPS |
Akane Rin |
|
Support |
Elyms |
|
Support |
Iroi |




Alternative: Hathor can replace Akane Rin.
Akane Rin provides Lakshana, while Iroi contributes Anima for the team's reaction setup. Elyms supports the Charge rotation with team buffs, Instant Cycle, and Remembrance Follow-Up attacks.
Her passive can provide up to 30% teamwide Cosmos DMG as teammates gain Ultimate Energy. After Elyms completes her Strong Connection setup and uses her Ultimate, trigger Instant Cycle and switch to Shinku for the main damage window.
2. Akane Rin Remora Team
|
Role |
Character |
|
Main DPS |
Akane Rin |
|
Sub-DPS |
Blackbird |
|
Support |
Elyms |
|
Support |
Iroi |




Alternative: Haniel can replace Blackbird.
Blackbird applies Stain to strengthen Akane Rin's Lakshana DMG. Elyms provides team buffs and off-field Follow-Up attacks, while her passive reapplies Remora to the same target 7.5 seconds after a teammate first applies it.
Iroi provides Anima, healing, grouping, and ATK support, allowing Akane Rin to remain on-field for sustained damage.
Which Team Should You Use?
|
Team |
Main Focus |
|
Shinku Charge Team |
Charge reactions and Cosmos DMG buffs |
|
Akane Rin Remora Team |
Remora uptime and sustained damage |
Choose the team based on which main DPS and supporting characters you have already built.
Elyms Skill Priority and Combat Rotation
Skill Upgrade Priority
|
Skill |
Priority |
|
Do You Get Deja Vu (Ultimate) |
Highest |
|
Counting Electric Sheep (Redirect Skill) |
High |
|
Instant Glitch (Basic Attack) |
Medium |
|
I'm Here (Support Skill) |
Low |
Prioritize her Ultimate and Redirect Skill, which are central to her damage and Connection Strength setup.
Recommended Combat Rotation
Prepare team reactions: Apply Lakshana with Akane Rin or Hathor and Anima with Iroi in a Shinku Charge team.
Use I'm Here: Advance from Weak to Medium Connection and gain Optical Illusion.
Complete Crosstalk: Perform the three-hit combo to unlock the enhanced Redirect Skill.
Use Goodbye to You: Consume Optical Illusion and reach Strong Connection.
Cast Do You Get Deja Vu: Use the Ultimate at Strong Connection.
Use The Ones Who Left: Fill the Esper Meter.
Switch to the Main DPS: Let Shinku or Akane Rin take over while Remembrance continues attacking off-field.
If I'm Here is unavailable, use the five-hit Instant Glitch combo followed by Intermittent Existence to reach Medium Connection.
Rotation tips:
Always reach Strong Connection before using the Ultimate.
Use The Ones Who Left before switching to the main DPS.
Once On-the-Line is active, Elyms can deal Follow-Up damage from off-field.
Elyms Gift and Affinity Guide
Gifts increase Elyms's Affinity and help unlock Encounter Level rewards. The English gift names below are working translations and should be checked against the in-game English client.
Recommended Gifts
|
Affinity Value |
Gift |
Price |
Cost Efficiency |
|
400 |
Dreamlike Reverie |
10,000 |
40 |
|
200 |
Chilly Glimmer |
5,400 |
37 |
|
100 |
Bright ~ Wink Operation! |
600 |
167 |
Higher cost efficiency generally means better value, although some gifts may take longer to obtain. Elyms can also produce some gifts herself, which should be considered when planning resources.
Gift Locations
Dreamlike Reverie: Oops!Chest Gift Shop, Haimota, Drawing Town.
Chilly Glimmer: Jishan Wangye Flower Shop, Haimota, Bridge District.
Bright ~ Wink Operation!: Takemoto Qingyuan Drugstore, Bridge District.
Encounter Level Rewards
|
Encounter Level |
Reward |
|
Level 7 |
Sticker |
|
Level 8 |
Avatar and Close Bond |
|
Level 9 |
Avatar Frame |
|
Level 10 |
Profile Card and Home Outfit |
Affinity EXP Requirements
|
Level |
Required Affinity |
Total Affinity |
|
0 → 1 |
100 |
100 |
|
1 → 2 |
500 |
600 |
|
2 → 3 |
1,000 |
1,600 |
|
3 → 4 |
2,000 |
3,600 |
|
4 → 5 |
3,500 |
7,100 |
|
5 → 6 |
5,000 |
12,100 |
|
6 → 7 |
7,000 |
19,100 |
|
7 → 8 |
9,000 |
28,100 |
|
8 → 9 |
12,000 |
40,100 |
|
9 → 10 |
16,000 |
56,100 |
You need 56,100 total Affinity to reach Encounter Level 10 and unlock the Home Outfit.
Is Elyms Worth Pulling?
Elyms is worth considering if you need a Cosmos Support/Sub-DPS for a Shinku Charge or Akane Rin Remora team. Her team buffs, Instant Cycle, and off-field Follow-Up attacks provide useful damage support without requiring much field time.
Her value is highest when paired with teammates who can benefit from her buffs and reaction-related mechanics. Check your existing roster before investing in her signature Arc or additional Awakenings.
Conclusion
For a standard Elyms build, use Echoes on Hold, Lost Radiance, and four Type III Modules. Prioritize CRIT stats and reach Strong Connection before casting her Ultimate. Pair her with Shinku for Charge teams or Akane Rin for Remora teams to make the most of her support and off-field damage.
For more Neverness to Everness guides and top-up options, you can also visit Mone as you prepare for your next character investment.