

Looking for a complete walkthrough of the Parlor and Basement puzzles? These two levels challenge players to observe environmental details, recreate specific scenes, repair electrical systems, and solve a multi-stage shape code.
This guide breaks down the puzzle mechanics, explains the key steps, and highlights the hidden rewards described in the reference material. Let’s get started.
Part 1: Parlor Walkthrough — Solve the Vision Puzzles
The Parlor introduces a puzzle mechanic built around a glowing orb and a series of visual scenes. To progress, you must make the current room match the scene shown in each vision.
Pay attention to more than object placement. Whether a candle is lit, a window is open, or a chair has been pushed inward can determine whether the puzzle is complete.
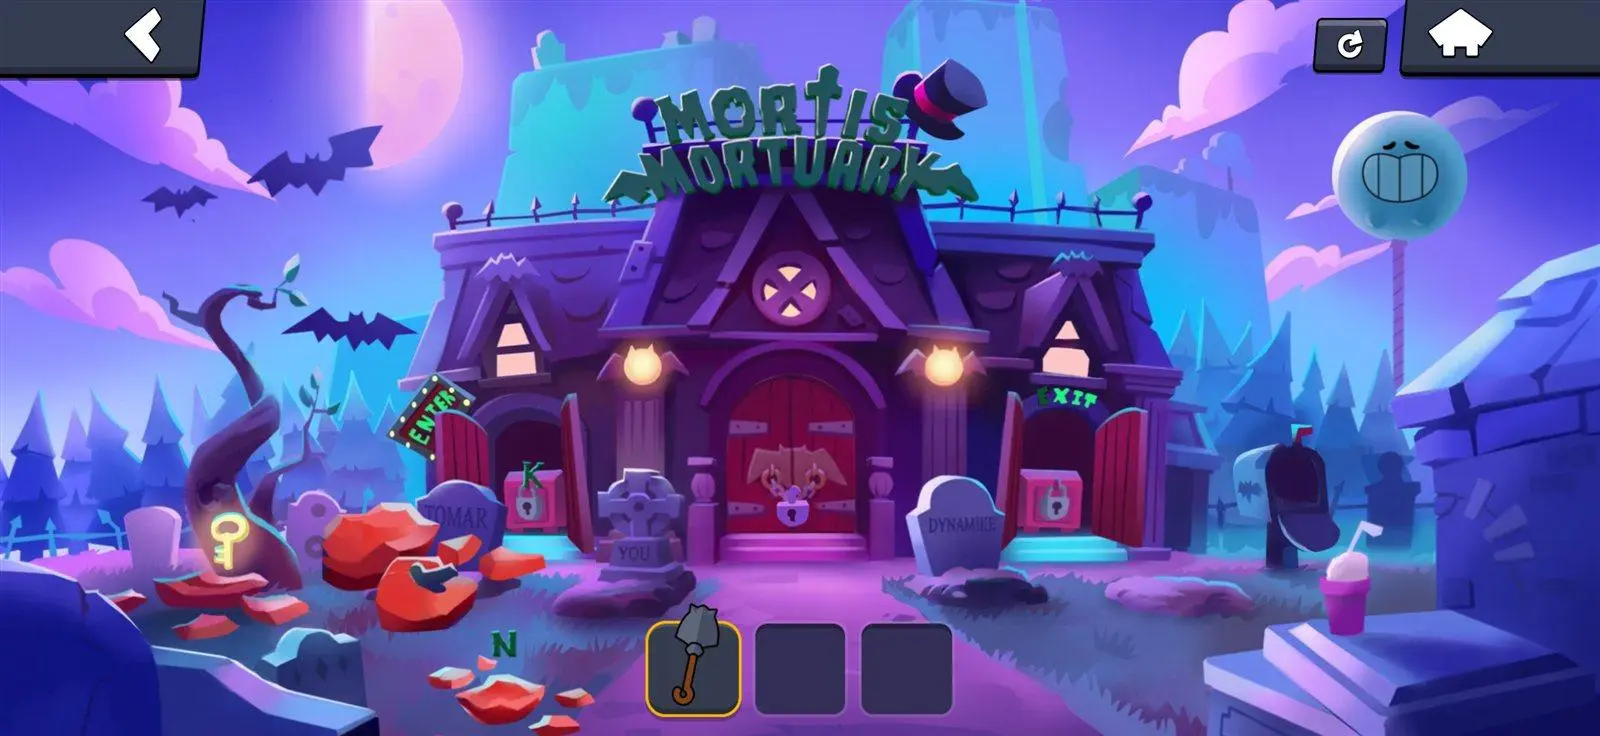
Step 1: Recreate the First Vision
Begin by interacting with the glowing orb to reveal the first scene. Then inspect the room and adjust its objects to match the vision.
Follow these steps:
- Retrieve the candles from the cabinet.
- Open the lower curtain to reveal the goose and dog statues.
- Position the statues as shown in the vision.
- Place the skull on the pedestal.
- Push the chairs inward.
- Close the cabinet.
- Use the stun gun to light the candles.
Important tip: Lighting the candles is a required part of the puzzle described in the reference material. Simply placing them in the correct positions may not be enough.
Once the room matches the required object arrangement and states, proceed to the next vision.
Step 2: Reverse the Required Object States
The second vision changes several of the room's requirements. Instead of repeating the previous arrangement, you must reverse specific actions and adjust the objects to match the new scene.
Use this checklist:
-
Extinguish and remove the lit candles.
-
Close the open window.
-
Move Gus's goose statue to the left and the dog statue to the right.
-
Remove the skull from the hand.
-
Fold the fingers on that hand downward.
-
Push the chair outward.
-
Secure the table attachment.
Check each item carefully before moving on. A room can look nearly correct while still failing the puzzle because one object remains in the wrong state.
Parlor puzzle tip: Treat each vision as a separate set of requirements. Do not assume that completing one scene means its object positions will remain correct for the next.
Part 2: Basement Walkthrough — Restore Power and Solve the Code
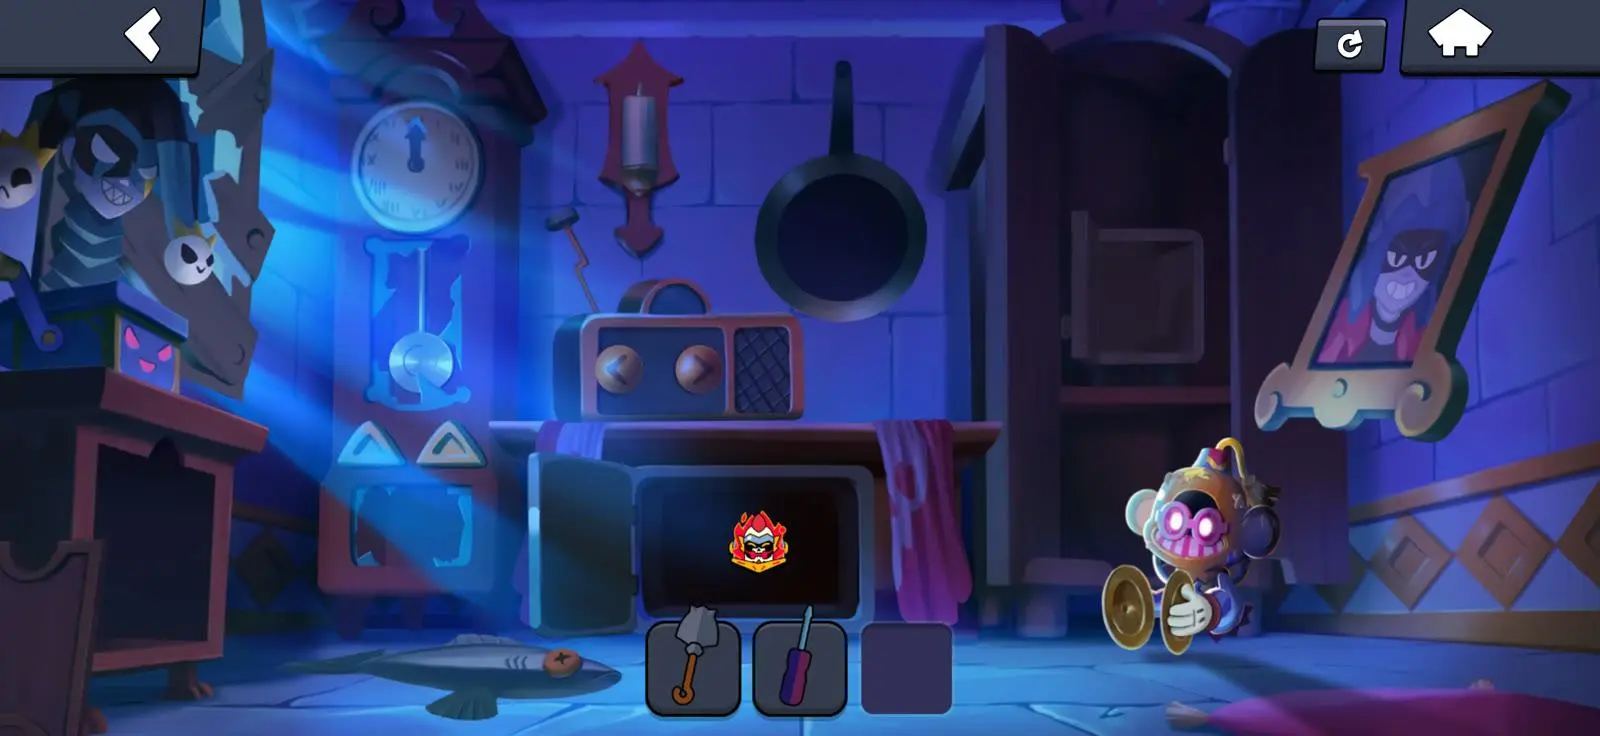
The Basement raises the difficulty by introducing a countdown, an electrical repair task, and a multi-stage code puzzle.
The most effective approach is to restore power first, locate the missing components, and then solve the code one step at a time.
Step 1: Repair the Electrical Box
Entering Gus's room starts the countdown described in the reference material. Your first objective is to repair the damaged electrical box with a screwdriver.
Match the wires to the geometric symbols on the control panel using the following number mapping:
| Shape | Number |
|---|---|
| Triangle | 1 |
| Circle | 2 |
| Square | 3 |
| Pentagon | 4 |
Use this mapping to connect the wires correctly and restore power.
Step 2: Find the Missing Components
After power is restored, inspect the control panel. Four components are reportedly missing, with some hidden beneath spiderwebs and others located inside the electrical box.
Search the surrounding area thoroughly. Once you find a component, drag it into the appropriate slot on the panel.
The pieces should snap into place when positioned correctly, so focus on identifying all four components before activating the next stage.
Step 3: Understand the Outer and Inner Codes
Once the control panel is assembled, pull the lever to begin the code sequence. The reference material describes prompts such as “Y-Code 4” and “Y-Code 3.”
Each component contains two shapes:
-
Outer shape: The geometric outline of the component.
-
Inner shape: The geometric symbol displayed inside it.
Both shapes correspond to numbers. Use the following reference table:
| Shape | Number |
|---|---|
| Triangle | 1 |
| Circle | 2 |
| Square | 3 |
| Pentagon | 4 |
For each code prompt, identify the component that matches the required outer and inner shapes. Then select the corresponding numbered button on the transformer box.
For example, an outer pentagon corresponds to 4, while an inner triangle corresponds to 1. If a prompt requires that combination, look for the component with a pentagon outline and a triangle inside.
Code-solving tip: Separate the outer and inner shapes mentally before choosing a button. Mixing up the two layers is an easy way to make a mistake.
Because the reference material does not provide the complete sequence of code prompts or every component combination, this guide explains the solving method rather than inventing a full answer key.
Part 3: Hidden Secrets — Find the Parlor Easter Eggs
Completing the main puzzle is not the only reason to explore the Parlor. The reference material describes two hidden encounters triggered by repeatedly pressing a doorbell.
Discover the Hidden Ghost Encounters
The first reported encounter reveals the spectral form of Gus's deceased dog. Continuing to press the doorbell many more times reportedly triggers a shadowy apparition of Gus's mother.
These encounters are described as observational easter eggs. They do not require another complex puzzle, but they do require persistence.
If you are aiming for full exploration, interact with the doorbell repeatedly and watch for changes in the scene.
The exact number of presses needed is not specified, so avoid relying on a fixed count. Continue checking for a visual or audio response instead.
Part 4: Basement Hidden Rewards — Complete the Timed Challenge
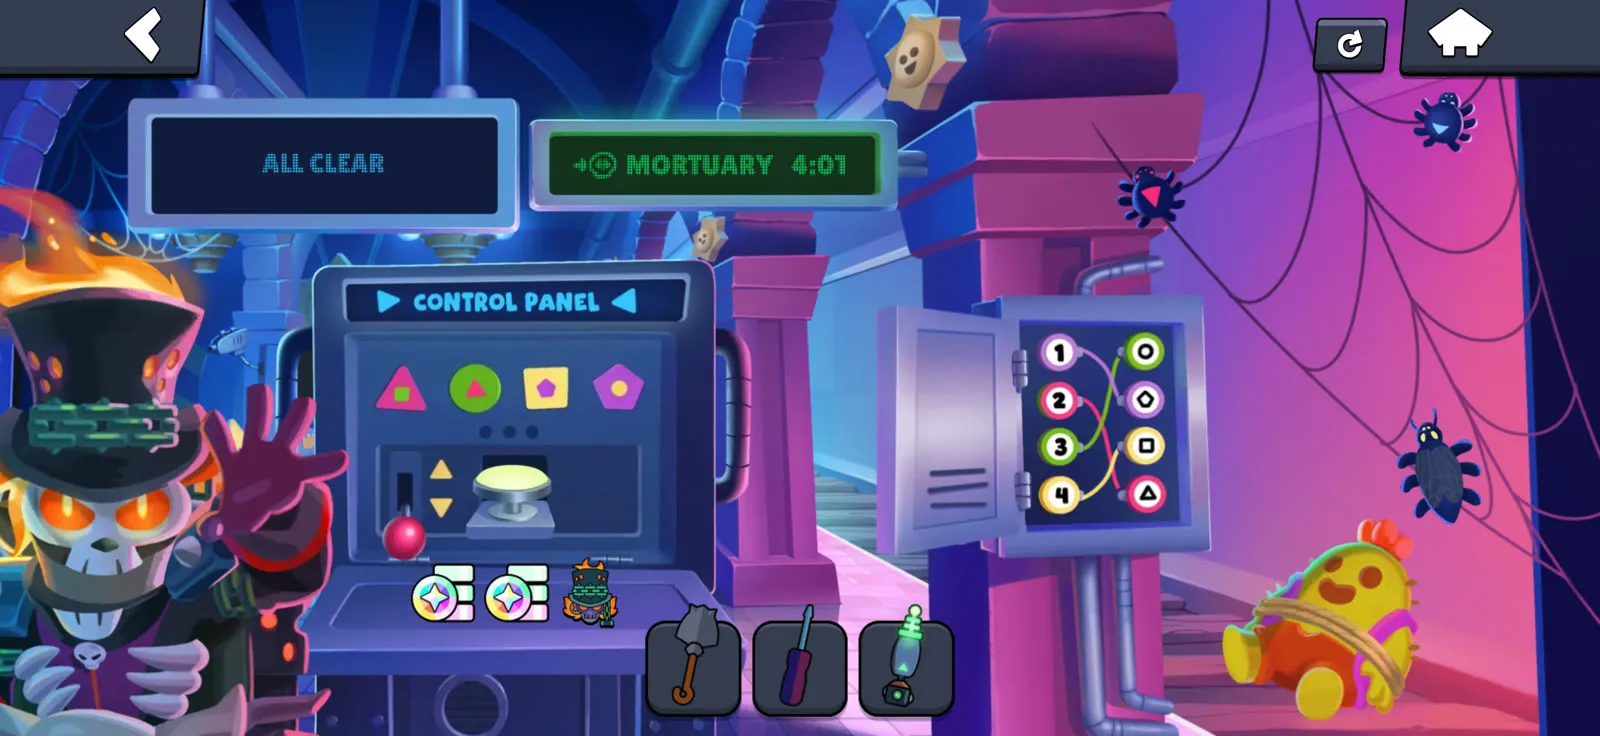
The reference material describes an additional reward challenge tied to the Basement's three-minute timer.
According to that account, players must first trigger an early reward claim that causes the initial attempt to fail. They then restart the level and complete the full code sequence within the full three-minute time limit.
The reported rewards are:
| Reward | Reported amount or type |
|---|---|
| Flash | 100 |
| Flash | 300 |
| Guest | A unique emote |
The source does not fully explain whether these rewards are earned in separate stages, whether they can be collected cumulatively, or whether the early-failure condition is mandatory in the current version.
Before attempting the challenge, confirm the reward conditions in the live game if possible. If the timer is strict, learning the wire mapping and code logic before restarting can help reduce mistakes.
Tips for the Timed Challenge
-
Memorize the shape-to-number mapping before beginning the code sequence.
-
Search for the missing components efficiently.
-
Distinguish outer shapes from inner shapes before selecting a number.
-
Avoid spending too much time repeating actions that have already been confirmed.
-
Check the reward interface carefully so you do not accidentally end an attempt before understanding its conditions.
The goal is not simply to move faster. Understanding the puzzle system in advance helps make each action more deliberate.
Part 5: Common Mistakes to Avoid
Focusing on Object Positions but Ignoring Their States
In the Parlor, an object may be in the correct location but still be in the wrong condition. Check whether candles are lit, windows are open or closed, and chairs are pushed in the required direction.
Mixing Up the Outer and Inner Shapes
The Basement code relies on two layers of geometric information. Identify both shapes independently before interpreting the prompt.
Starting the Timed Challenge Without a Plan
A countdown leaves less room for trial and error. Learn the wiring logic, component locations, and code-solving method before attempting the timed sequence again.
Ignoring Optional Secrets
The doorbell encounters and additional Basement rewards are separate from the basic puzzle-solving process described in the source. If you want to explore everything, remember to check the optional objectives after learning the main mechanics.
Final Thoughts
Brawl Stars Parlor and Basement offer two distinct puzzle challenges: one emphasizes careful environmental observation, while the other combines electrical repairs with layered code logic. Learn the required object states, memorize the shape mapping, and investigate the optional secrets to get more out of each level.
For the Basement's timed challenge, preparation matters more than rushing. Understanding the puzzle before starting gives you a clearer path toward completing the sequence and checking its reported rewards.